
Top 10 Oil Painting Exercises for Beginners
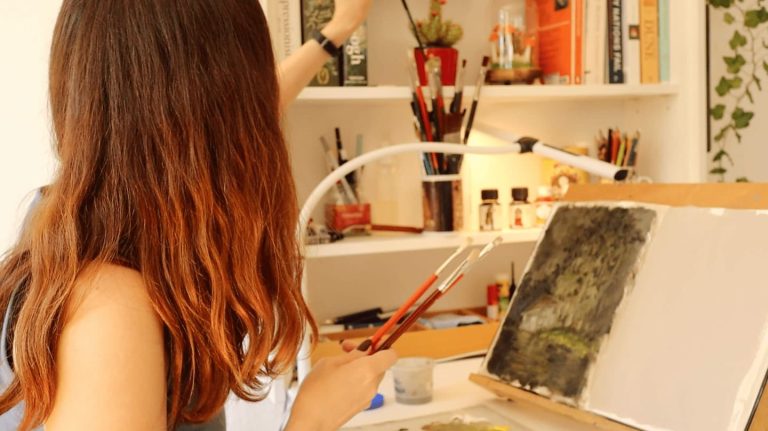
Getting started with oil painting can feel quite intimidating – it’s such a versatile medium and with so many aspects to think about, it’s hard to know where to focus first. That’s why I decided to compile these oil painting exercises to help you prioritise the things that will put you on the right path from the start and allow you to improve faster.
These exercises target such areas as:
- Understanding your tools and what effects you can create with them.
- Learning to see and translate value (i.e. how light or dark things are).
- Learning to see larger shapes and value zones instead of focusing on the small details.
- Practicing the basics of colour mixing and building a feel for colour harmony.
The oil painting exercises we’ll cover in this article are meant to help you develop these skills and create a foundation that you can build on top of later. I also have a video on my YouTube channel where I demonstrate each of the exercises, so feel free to check it out:
1. Monochrome Paintings
Colour is awesome! It’s what makes painting so fun but also that much more difficult. Colour is one of the most complex of art fundamentals, and one thing you need to remember is that colour is largely built on value. If the values in your painting aren’t coherent, it doesn’t matter how beautiful and harmonious your colours are, which is why mastering value is one of the most important skills in oil painting.
Monochrome paintings are a great way to get started with improving your control of values. They will also help you take your mind off the more difficult things like colour harmony and help you focus on getting to know your medium and establish a solid foundation.
Tips for Monochrome Oil Painting Exercises
- Premix five values from dark to light, and then match each area of your painting to the closest value. This is a great way to establish clear value zones.
- Start with your darkest darks first. Titanium White is a strong pigment that can be tricky to control, so use it sparingly and leave it for last.
Bonus Tip: How to Make It More Interesting
Greyscale paintings can seem pretty bland and boring. Remember that you don’t have to use Ivory Black! Try using white plus another dark colour, such as Raw umber, Payne’s Grey or Olive Green, like I did in the studies below. You will still be able to get a wide range of values and effectively establish your value zones, so it’s a great way to have more fun with this exercise.


2. Limited Palette Studies
When it comes to colours, less is usually more in oil painting. That’s why another great oil painting exercise for beginners is working with a limited palette. It helps you easily achieve colour harmony in your artwork and avoid overmixing your paint, which is a common issue among beginners. Besides, you also don’t need many pigments to complete a piece.
The Zorn palette is probably the most well-known limited palette, which allows to access a wide gamut of colours using only Titanium White, Yellow Ochre, Cadmium Red (or Vermillion), and Ivory Black. If you’re thinking about buying your first set of oil paints – I’d suggest to get those pigments instead of the usual 10-colour set.

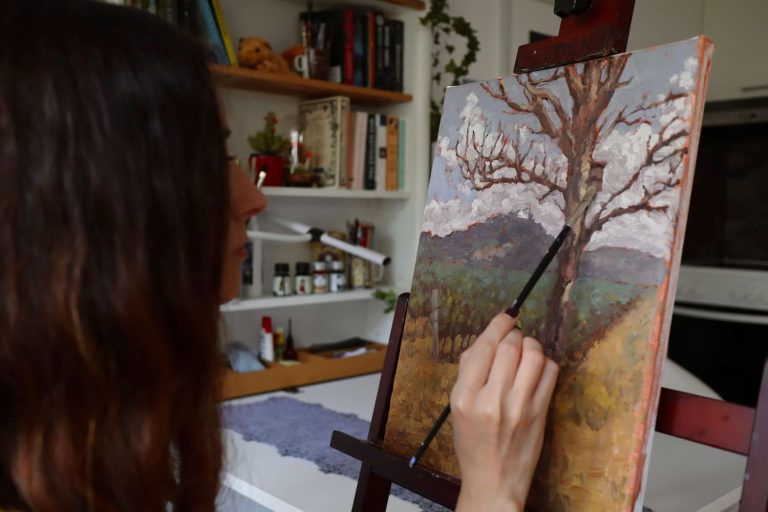
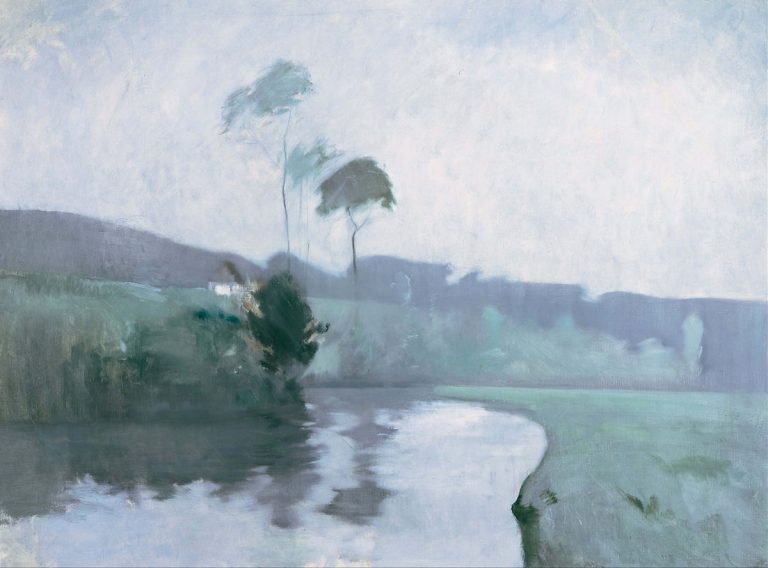
3. Painting with a Time Limit
Time-limited painting is a great exercise for oil painters of any skill level, but especially for beginners. By setting a time limit for how long you have to complete a painting—e.g. 30 minutes to an hour—you’ll be forced to focus on capturing the large shapes and value zones and avoid getting lost in the details. Of course, you don’t have to aim to produce a finished polished piece; just consider this an exercise – no strings attached.
Pro Tip: Squint or step back from your painting often to see the big picture and larger relationships more clearly.
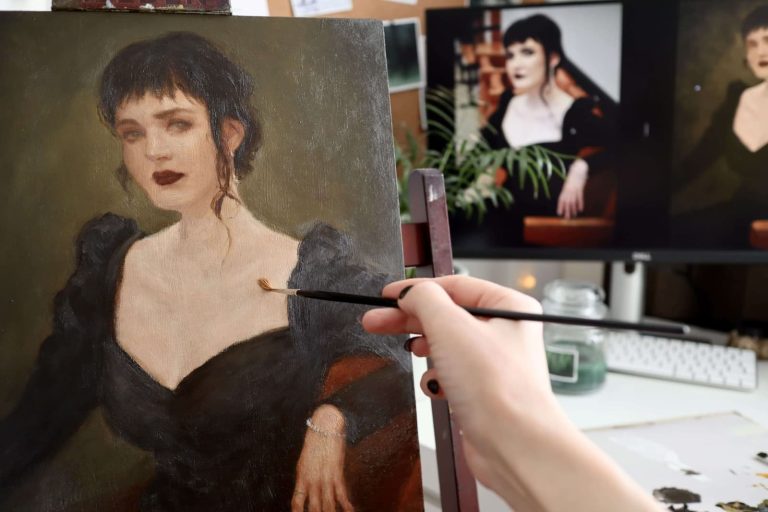
4. Painting on Top of a Transferred Drawing
Drawing and painting are separate skills, and it’s okay to separate them while you’re learning! This exercise allows you to take care of the drawing aspect from the get-go, so you don’t have to worry about it during the painting process. Transfer your drawing onto the painting surface, so you establish your lines and proportions from the start and don’t have to struggle with getting them right while you’re painting. Instead, you’ll be able to focus on the skills that are more important for painting, such as values, forms, and brushwork.
How to Transfer a Drawing
- Trace your drawing using transparent tracing paper.
- Apply charcoal or pastel to the back of the tracing paper.
- Attach the tracing paper to your canvas, trace over the lines (preferably with a coloured pen or pencil so you can see the lines you’ve already traced), and you’ll have a clean outline ready for painting.

5. Thumbnails
Creating limitations for yourself is a recurring theme in this list, and thumbnails are another way you can do it. Thumbnails a fantastic oil painting exercise for beginners that can help with learning composition and value grouping. Thumbnails are usually done in preparation for a larger piece, and professional oil painters, including myself, often use them as part of their process because they’re great for trying out different compositions and colour schemes.
Try to keep your thumbnails small – no larger than a few inches. This has an effect similar to squinting and forces you to focus on the larger shapes, composition, and colour harmony.

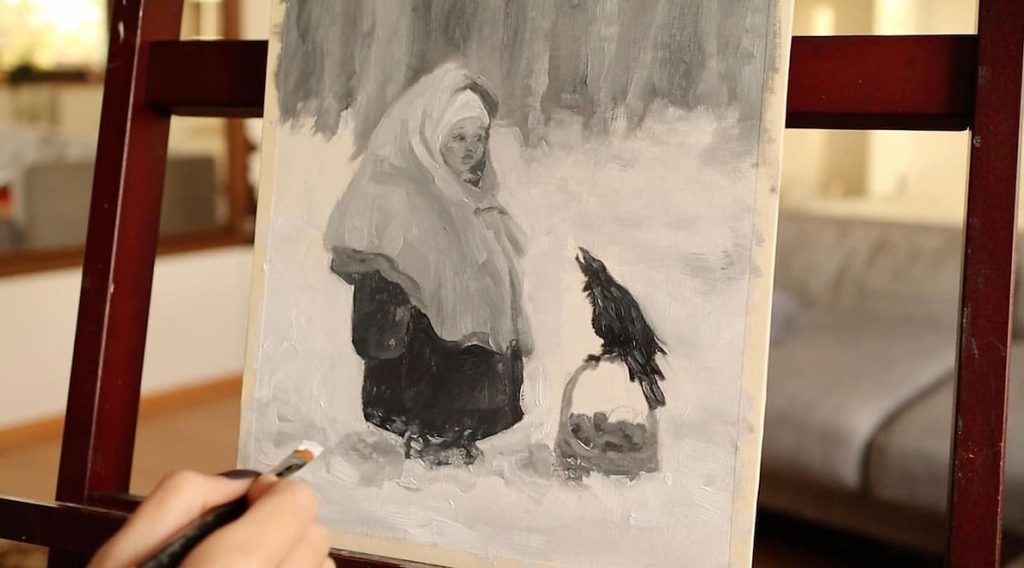
6. Painting in Shapes
This exercise goes hand in hand with thumbnails, and the goal is to paint using larger shapes. Divide your composition into no more than seven shapes, assigning each shape its own value. Try to simplify your shapes as much as you can and stick to narrow value ranges within the shapes to make them more distinct. This will help you to create a solid composition with clear elements.
For example, in this small painting, I used seven shapes that form seven distinct value zones:
1) the forest in the background; 2) the snow; 3) the raven and the basket; 4) the shawl; 5) the coat; 6) the headscarf; 7) the face.

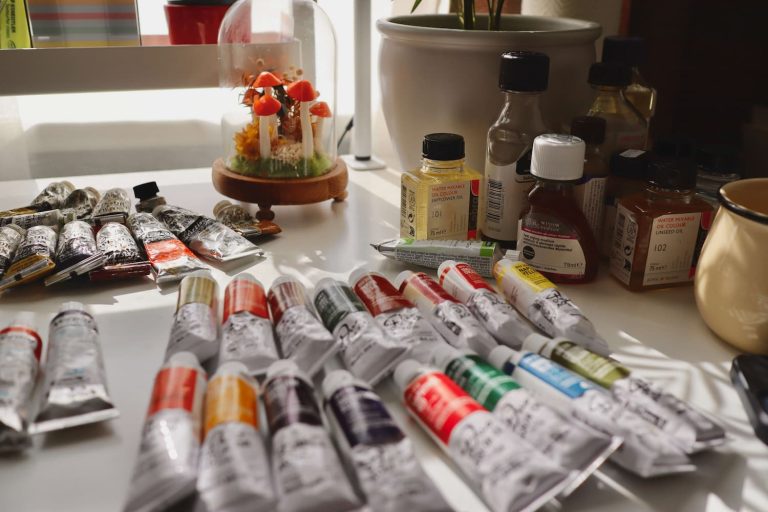
7. Colour Mixing
Colour mixing can be very confusing at first, but there’s a science behind it, and it can be learnt. You need to know which colours are primary and how to mix secondary colours, which colours are complementary and neutralise each other, how to make a colour lighter or darker, and how to make it warmer or cooler.
You can start by taking yellow, red and blue (the traditional primaries) and mix green, orange and violet. Try mixing the different colours together and see what tones you can get out of that. Which colours work well together and which create mud?
You can also create a colour map like the one below by taking different colours and colour mixtures and adding more and more white to them. This will help you understand values of colours and the range of tones you can create with each mix.

8. Colour Matching
After you’ve experimented with colour mixing, take a reference and try to mix a colour that is similar to the colour you are seeing in it. This is an excellent exercise for training your eye to identify hue, saturation, and value accurately.
Put a small amount of your paint mixture on a palette knife and hold it up to your reference. If it doesn’t match, then think about which of the colour properties is wrong: hue, saturation or value? If it’s too bright, add a bit of the complementary colour to tone it down; if it’s too cool, try warming it up with some yellow or red.

9. Master Copies
We all stand on the shoulders of the giants. Doing a master study (or a master copy) is the best way to put yourself in your favourite artist’s shoes and, for a few moments, they almost become your teacher because you become intimately acquainted with their painting techniques. Don’t worry about making an exact copy – instead focus on what you like about that artist’s work. Is it the way light and shadow interact with each other? Or perhaps it’s the colours they use – then try to match those.
Generally, copyright lasts for 70 years after the artist’s death, so it’s okay to share studies of older works. For modern artists, try to keep your studies private. Of course, when you do share your studies, make sure to always give credit where it’s due regardless of those timeframes.
10. Paint Using a Palette Knife
This exercise might seem the odd one out at first, but bear with me. With this exercise, you’ll learn how to handle a palette knife, which will come in handy later when you begin experimenting with texture. You’ll also have to force yourself to forget about details, which is the point of a lot of the exercises on this list.
Try using just a palette knife without any brushes for one painting – use it for mixing your colours and applying them onto your painting surface. A landscape would work great because there are typically less details to think about and it’s easier to be loose, but you can also try this exercise with a portrait.
Many beginner painters feel intimidated by the palette knife. This exercise helps you get past that initial fear and allows you to understand how you can use it to mix and apply paint and create interesting textures in your future work. You might also find that it’s easier to handle paint with a brush after this exercise, so it’s a win-win.
Conclusion
These ten exercises are great for beginner oil painter. Try them out if you want to get comfortable with your oil painting tools, build confidence and improve your control of art fundamentals like value, colour, and composition. I hope you find them useful!